The application InfoComm (Messaging to users) allows to:
- Send mass communications to different users in one click
- Forward messages through different channels - such as a widget alert, a toolbar notification or an email message
- Contact categories of users that are automatically generated (for example according to the reference structure, to the type of career, to custom groups, etc..)
Access the application
From the sidebar menu, under Cloud Services, select InfoComm (Messaging to Users).
You will be provided with a panel that shows the communications you have already sent, or all the communications ever sent according to your permissions in the application.

Forward a new communication
From the main page, click on the New Request button to open the creation page.
Overview
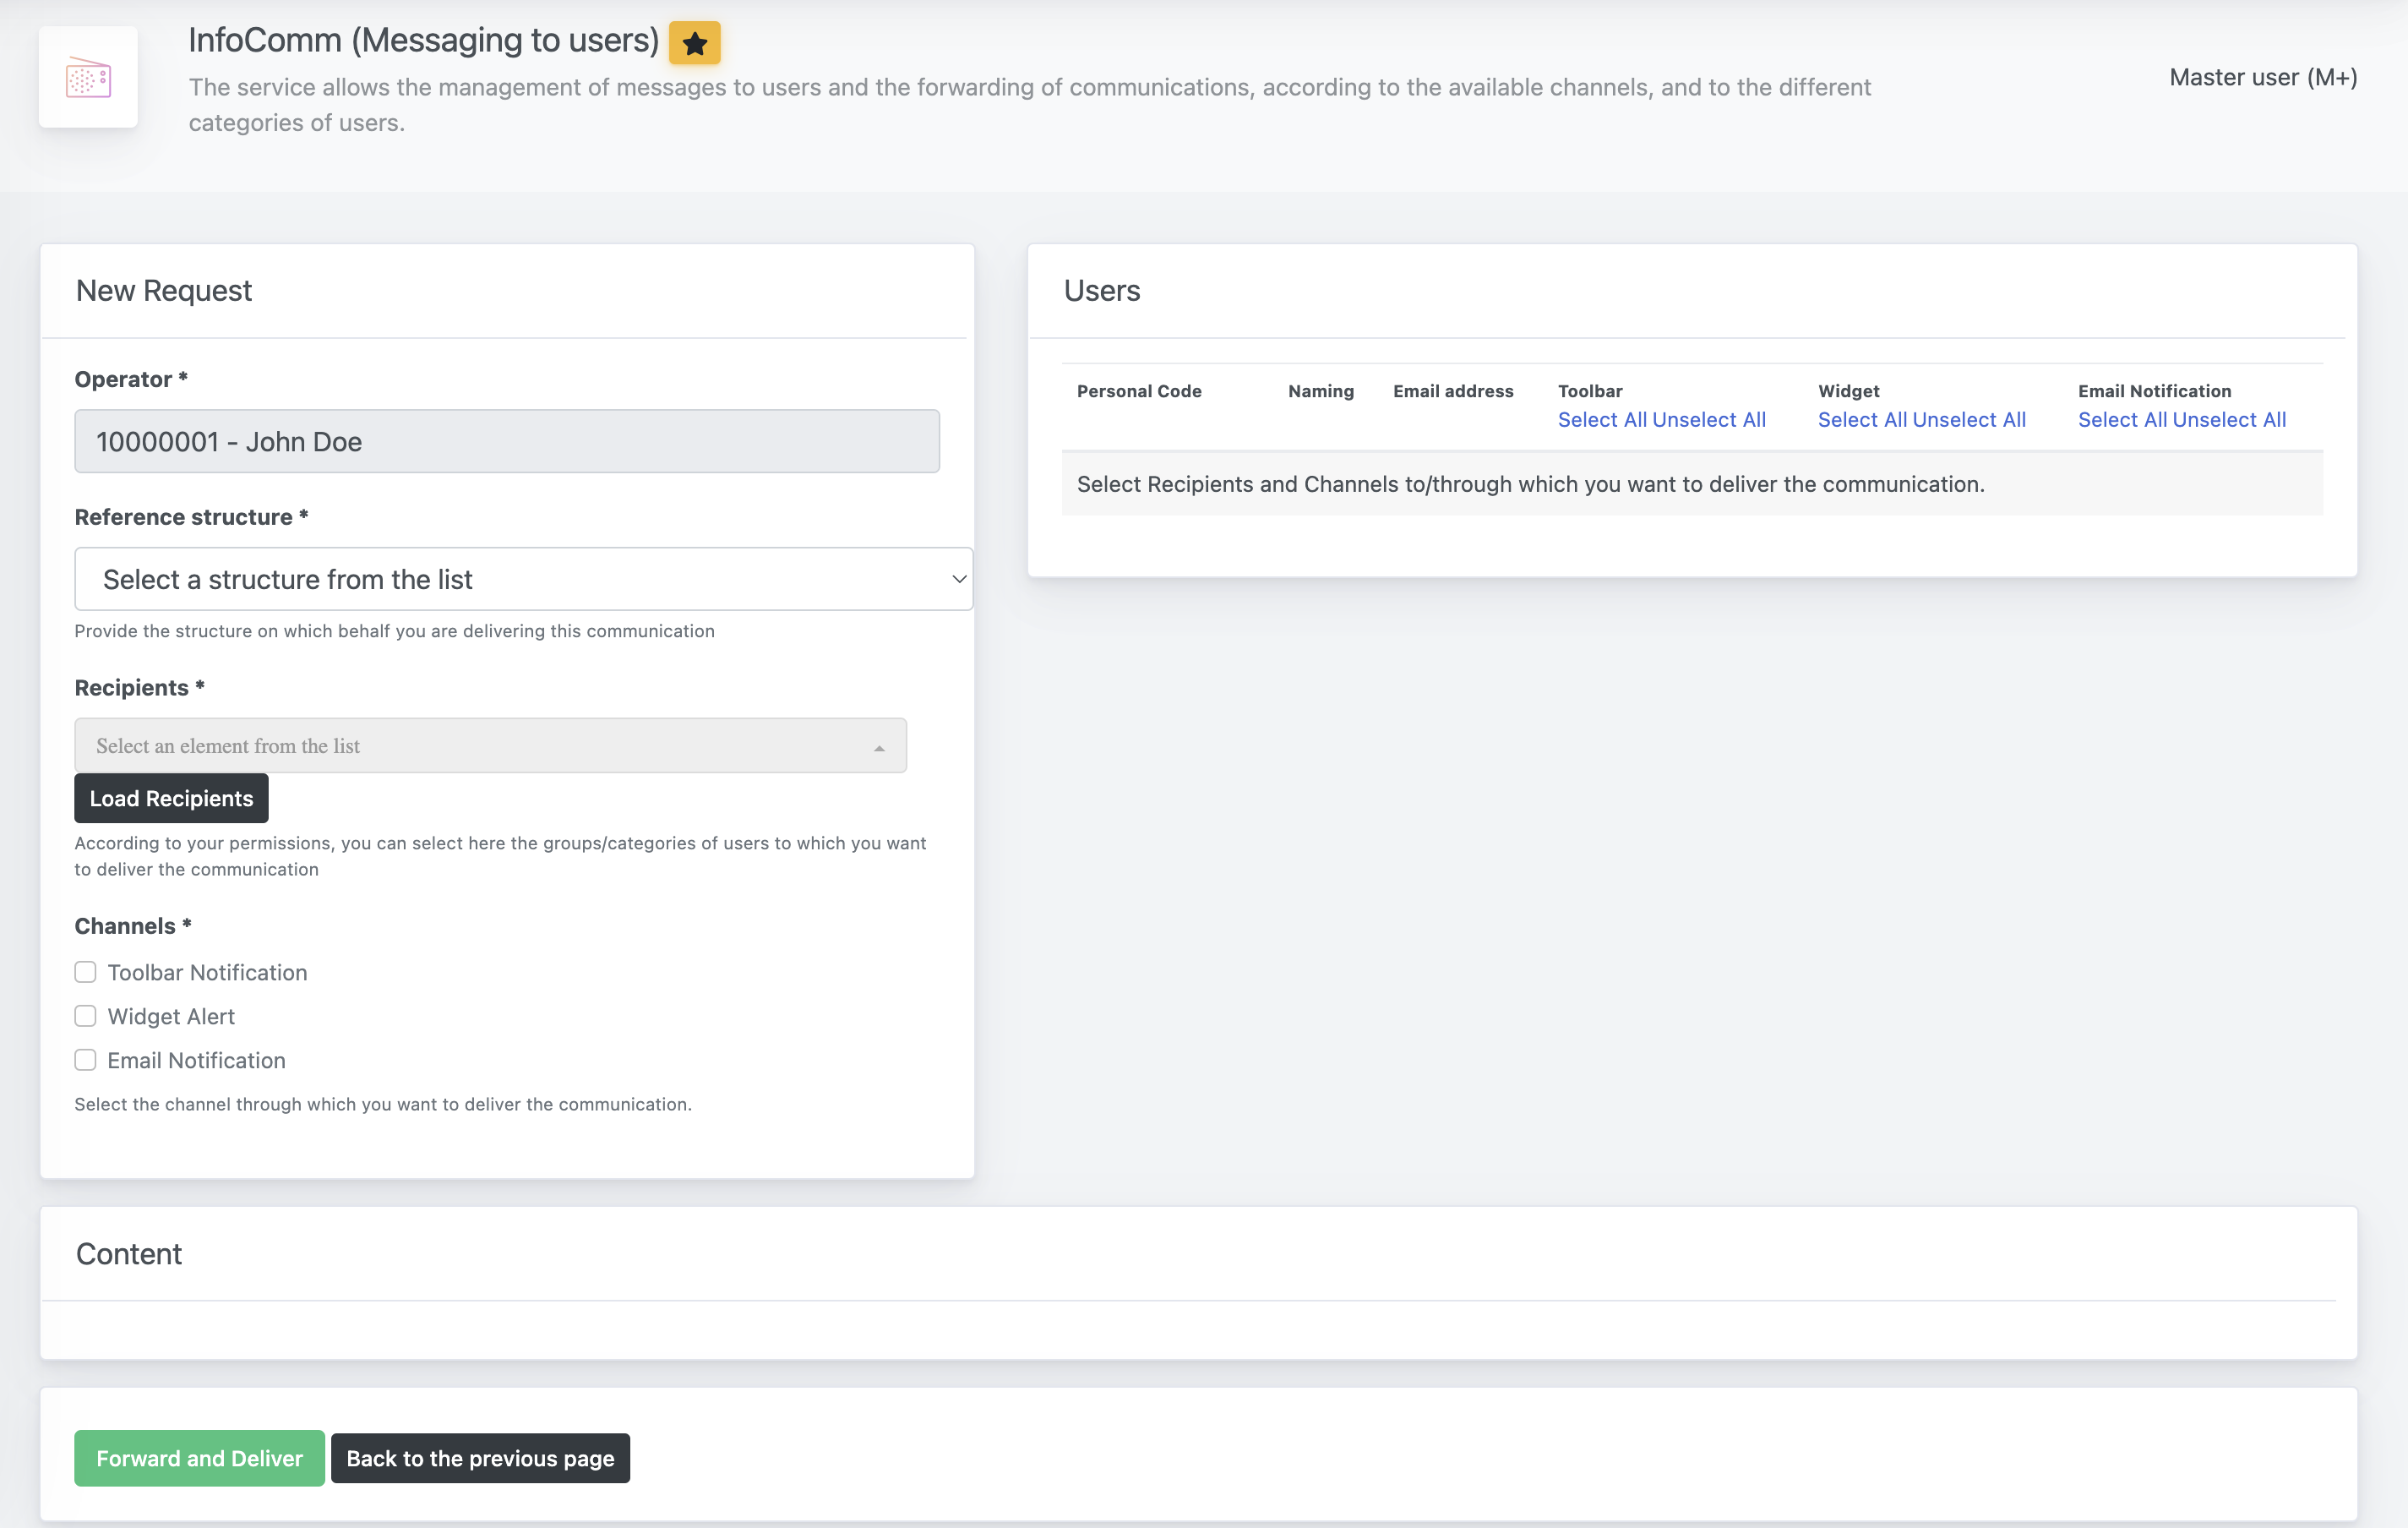
The panel is divided into three different sections. On the upper-left, the page requires some information about the method and recipients of the communication; on the upper-left you will automatically be provided with the list of users according to the selected categories, and in the lower part you will see the required fields for the type of channel you selected.
Recipients and Channels
The first sections requires the following information:
| Operator | The field is automatically filled with the operator that is creating the request |
|---|---|
| Reference Structure | Provide the structure on which behalf you are delivering this communication |
| Recipients | See section below "Categories of Recipients" |
| Channels | Select the channel through which you want to deliver the communication. Availability may depends on the permissions you have been granted |
Categories of Recipients
The system provides you with three different type of recipients categories - User Categories, Groups and Structures. Permissions to select them may vary according to the permissions that you have been granted.
| User Categories | You can select among Active users, Area Managers or Heads of Unit |
|---|---|
| Groups | This section is automatically filled with the groups you have created in Management of Authorizations and Groups. Please note that only groups with Users type: Internal can be selected |
| Structures | You can select recipients by their reference structure. |
Users - List of retrieved Recipients
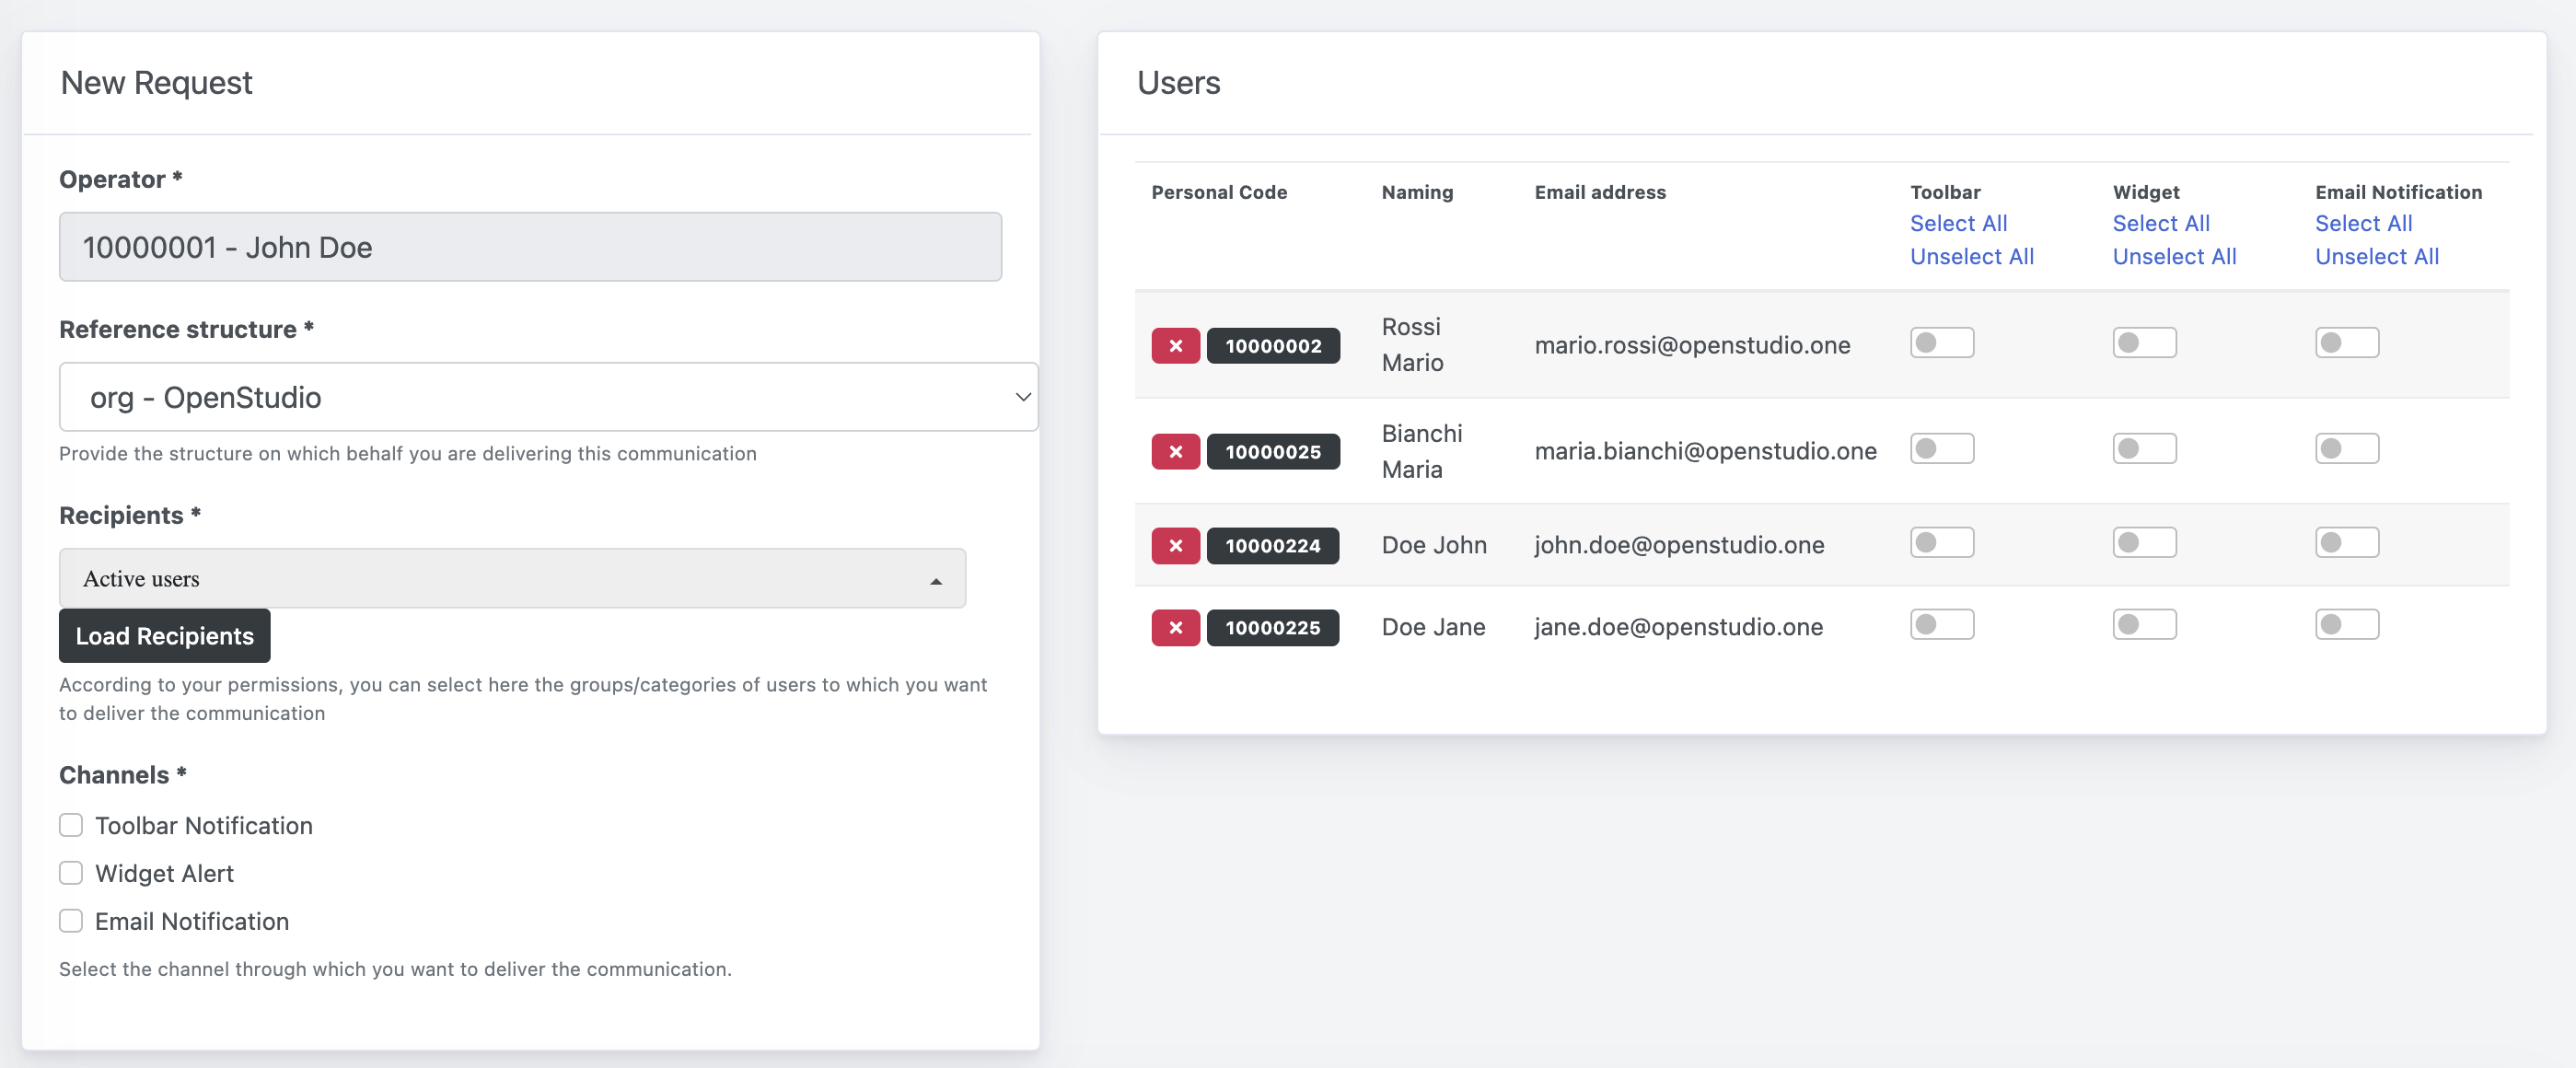
Once you have selected recipient(s), click on the Load Recipients button to automatically retrieve the list of users. On the upper-right, the list of recipients will be loaded.
Individual change on Channels
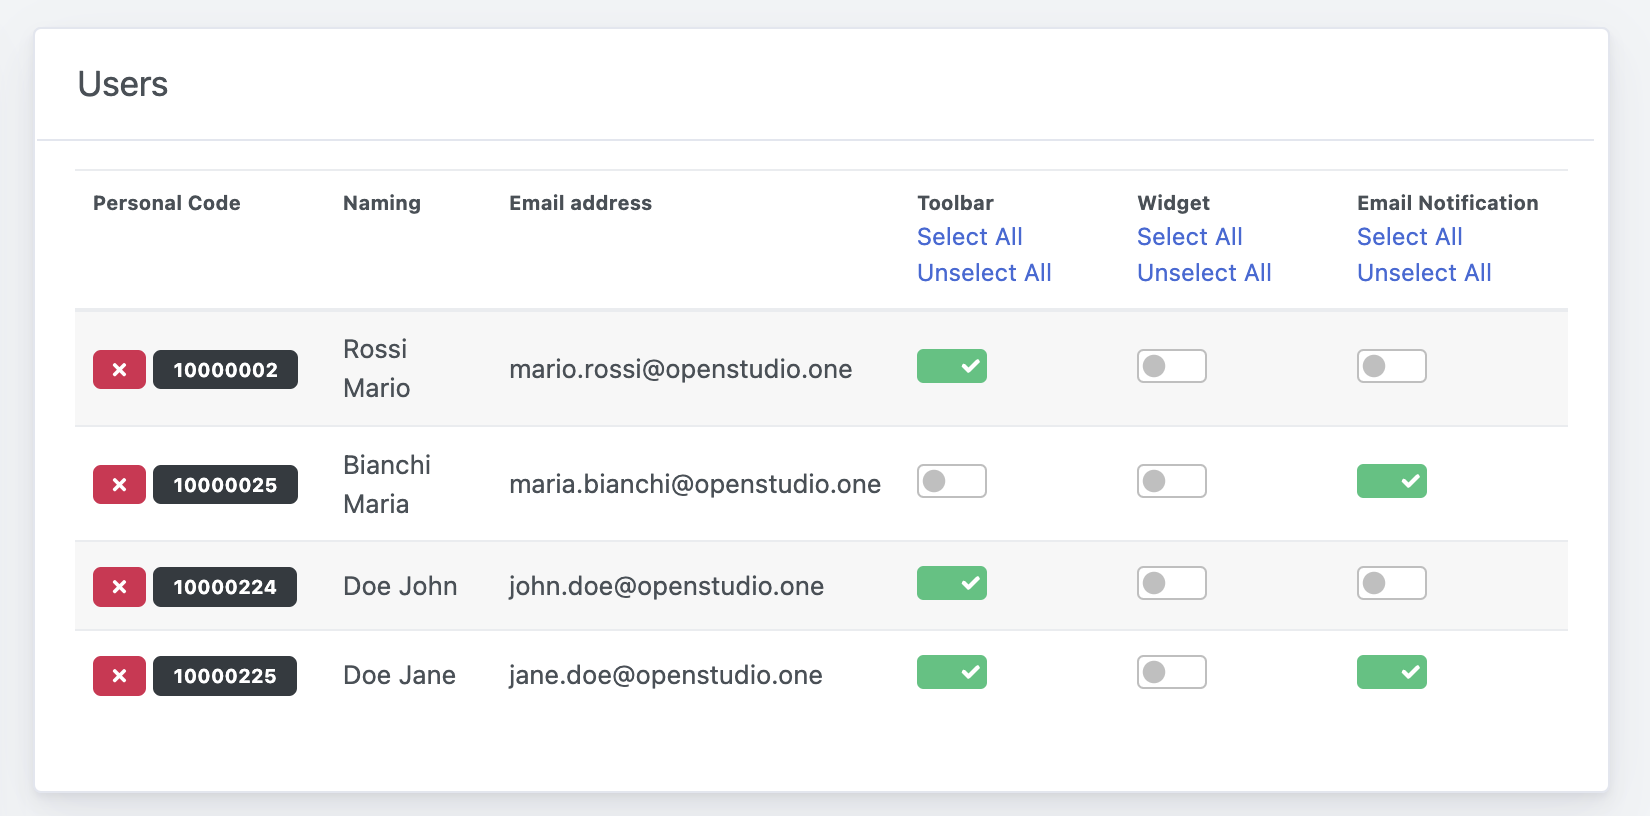
Once the Recipients and the Channels are selected, you will see the panel populated. By default, all the users will be selected to receive the communication through the channel you activated.
You can use the Select All/Unselect All buttons, or directly use the switched to prevent the message to be delivered through one specific channel.
Removal of individual recipient
In the same way, you can click on the icon to remove an individual.
Please note that if you click on Load Recipients again, the customizations will be lost.
Content
According to the selected channels, in the Content tab you will be provided with the required information for each type of channel.
Due to the different requirements and characters length, each section may need to repeat the same information.
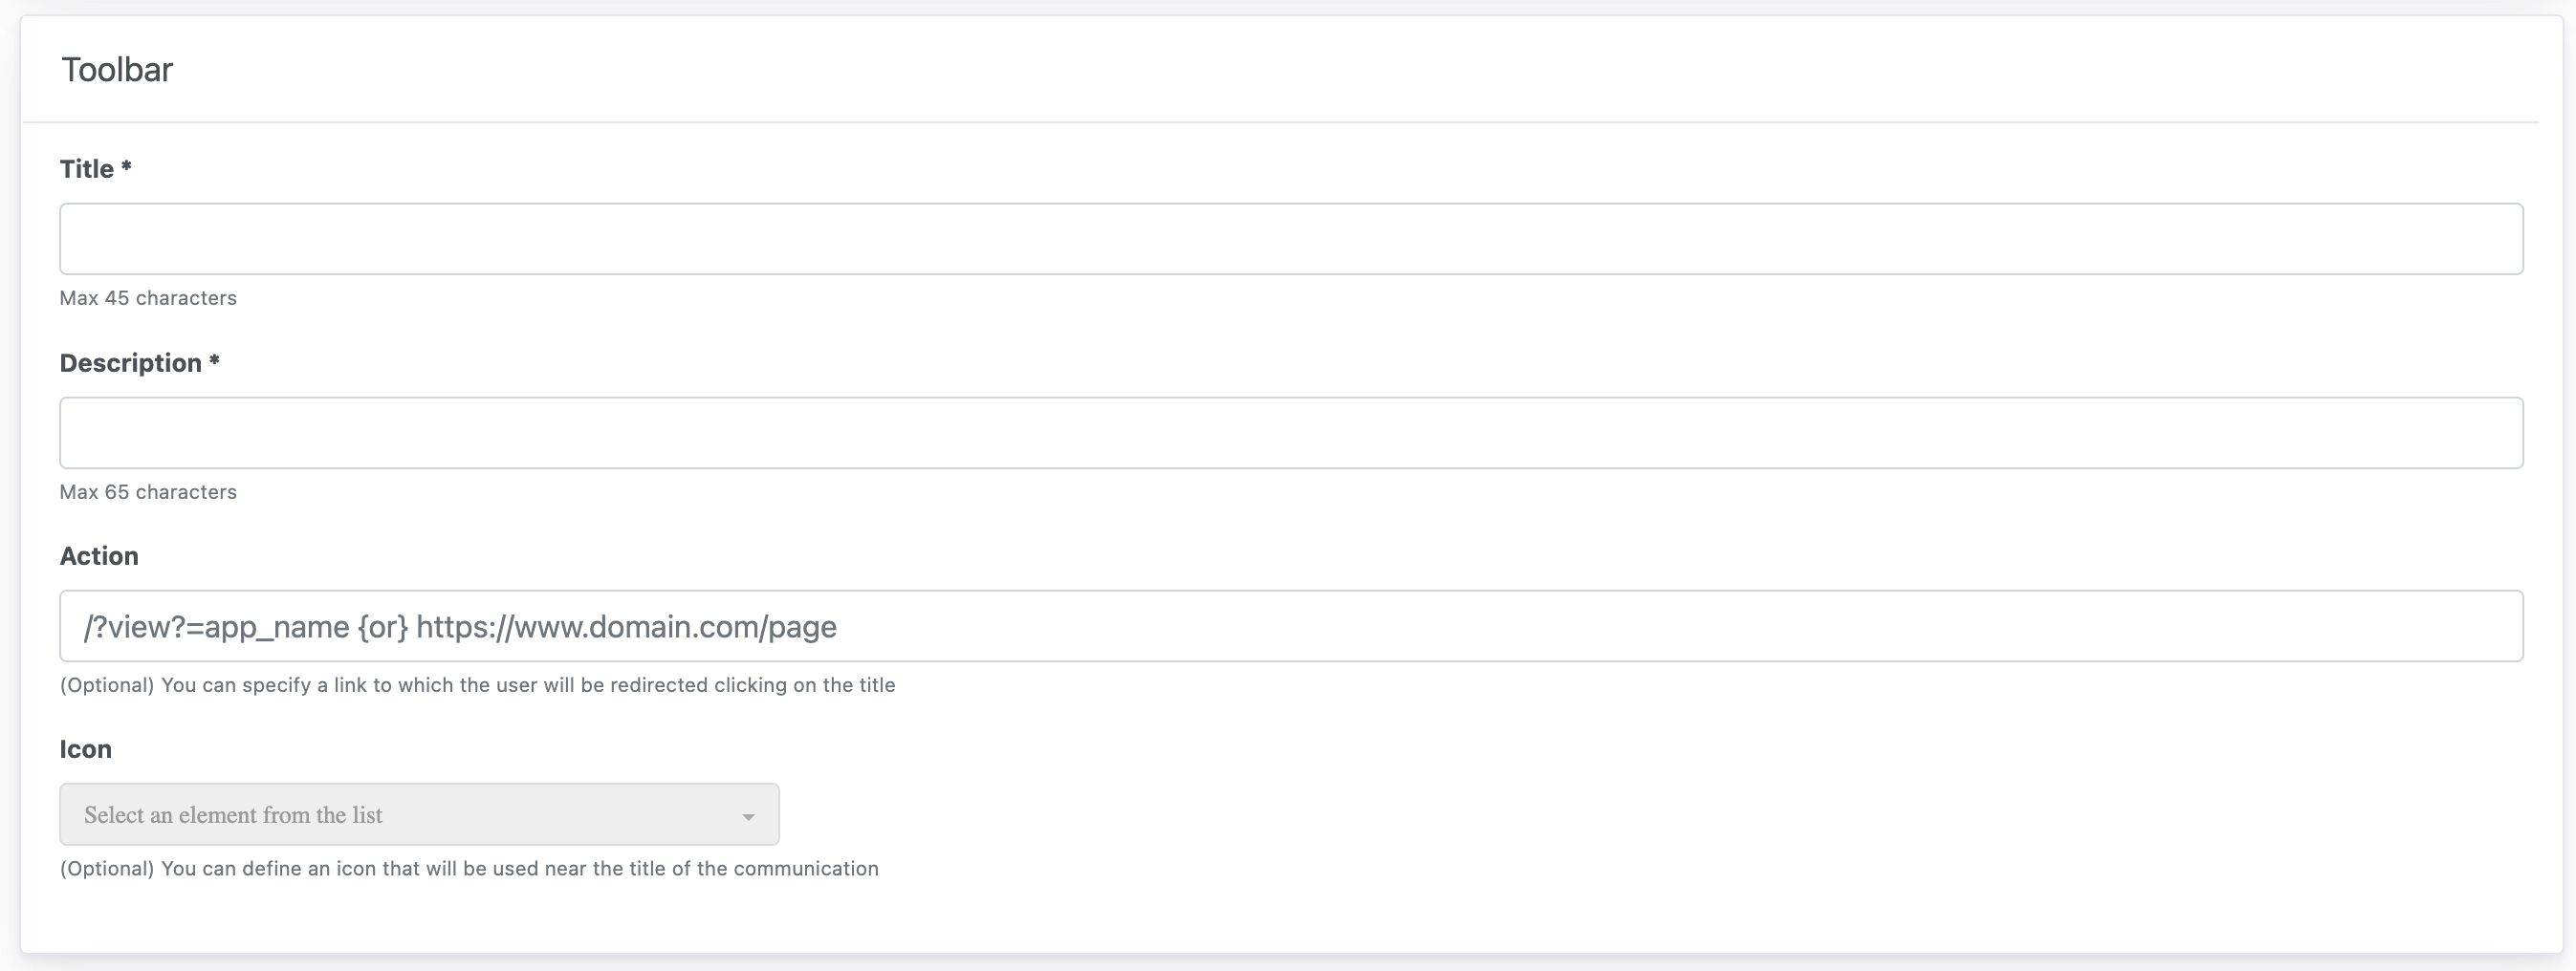
Toolbar Notification
| Title | Max 45 characters |
|---|---|
| Description | Max 65 characters |
| Action | (Optional) You can specify a link to which the user will be redirected clicking on the title |
| Icon | (Optional) You can define an icon that will be used near the title of the communication |
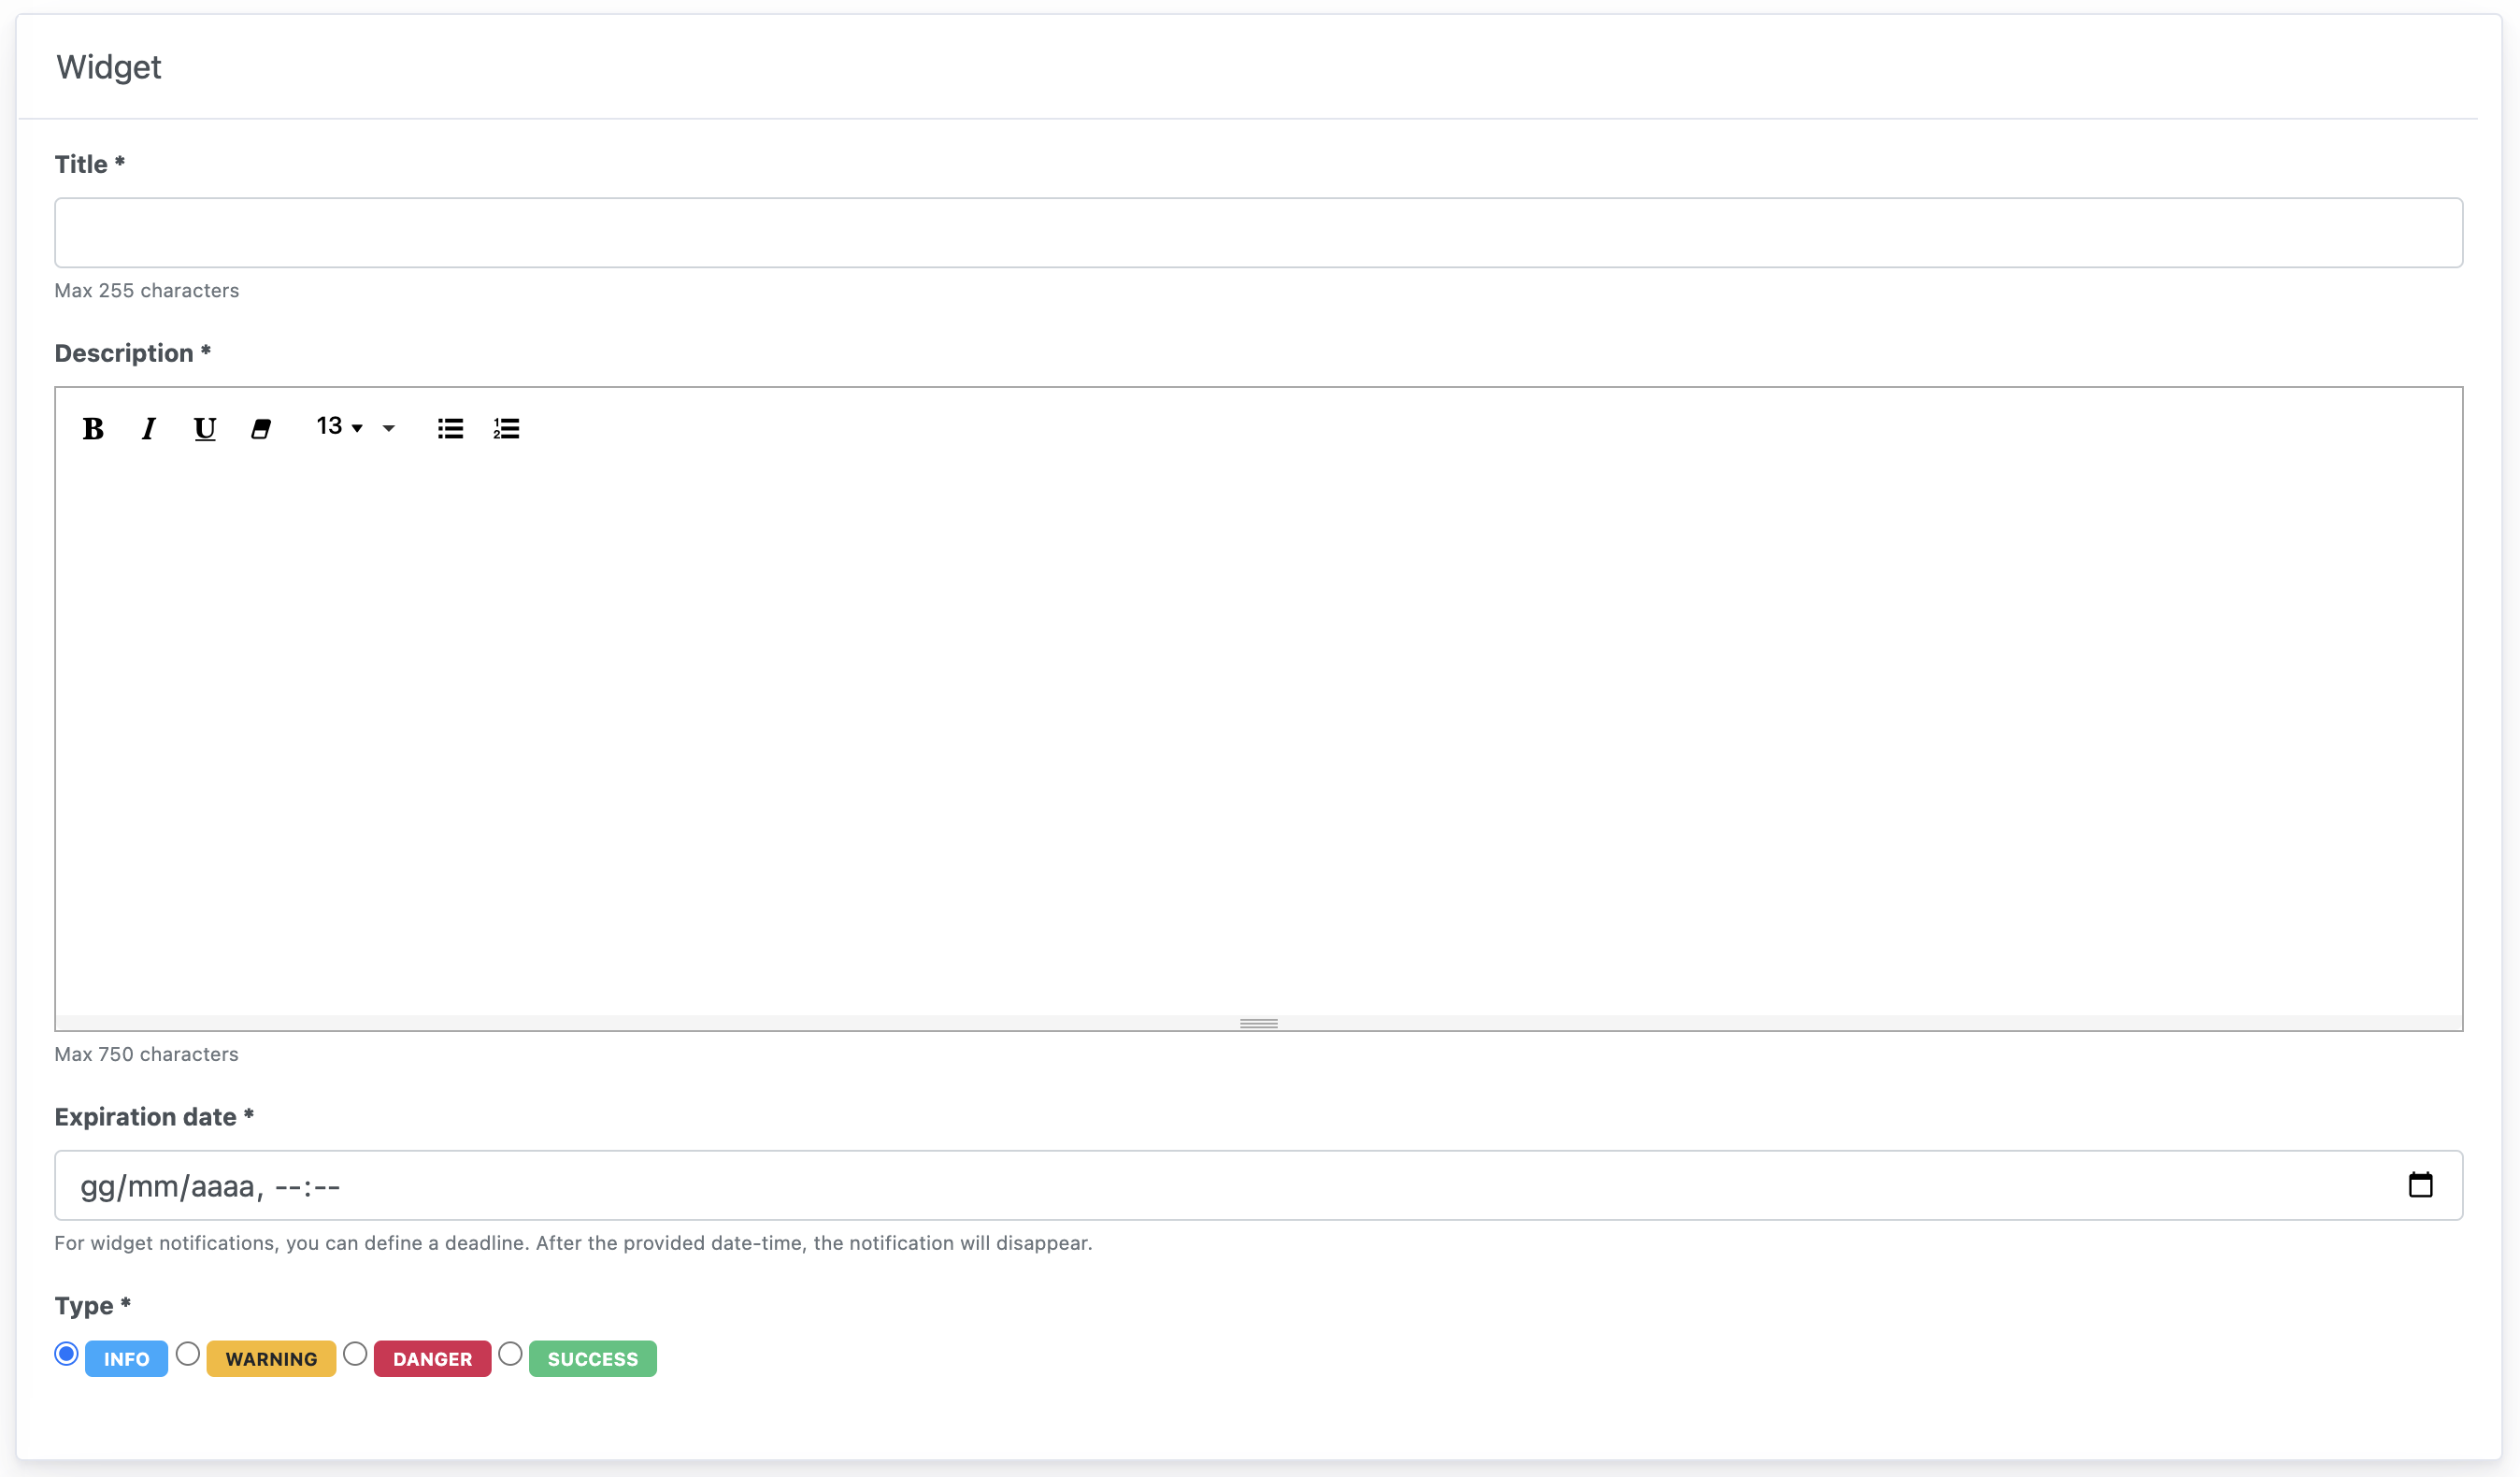
Widget Alert
| Title | Max 255 characters |
|---|---|
| Description | Max 750 characters |
| Expiration Date | For widget notifications, you can define a deadline. After the provided date-time, the notification will disappear |
| Type | You can choose among Info, warning, danger and success, to customize the color and type of information. |
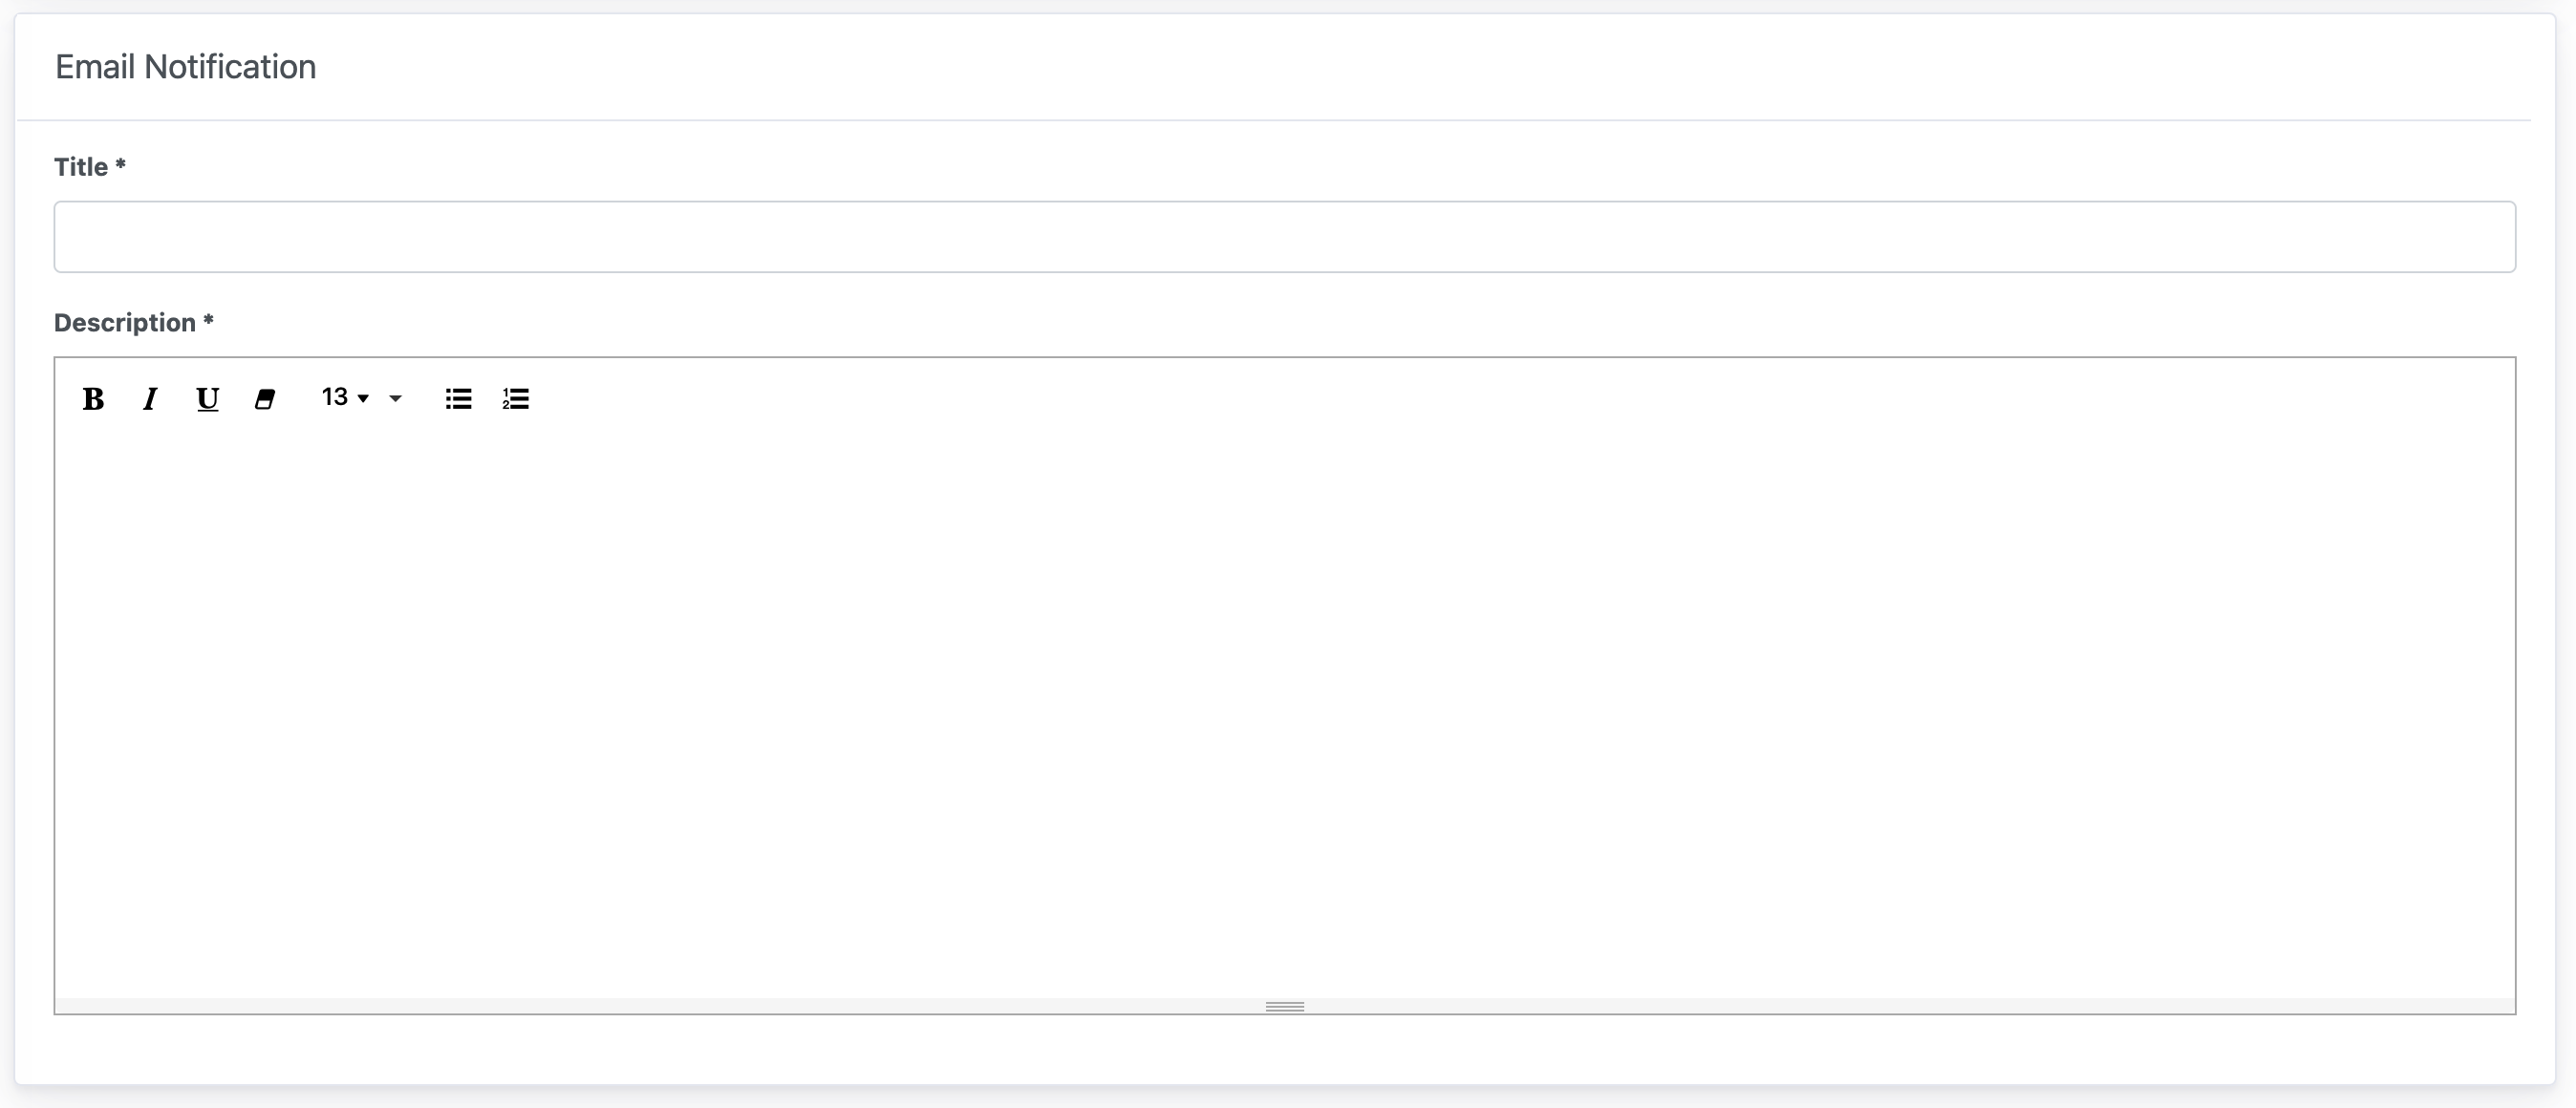
Email Notification
| Title | The title will be used both in the email content, as well as in the subject of the email |
|---|---|
| Description | The content of the email. The message will be wrapped in a default template with info about privacy and sender. |
Forward and Deliver
When all the information are provided, click on Forward and Deliver button to proceed. The communication will be sent immediately and the process cannot be undone.

